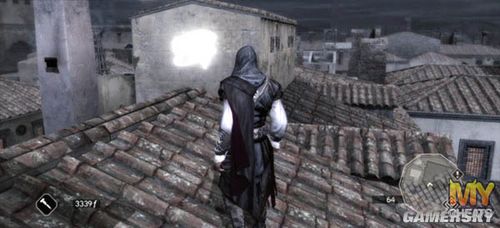
The Truth is a major spoiler in Assassin's Creed 2. Listed below are the locations of the first ten glyph marker locations (in the order in which we found them) that will reveal the Truth puzzles in the game. Be warned, if you haven't gotten to this part in the game, leave this page and come back when you are ready. Also, be sure to check out the city maps in the Super Guide if you are having trouble finding the glyph markers.
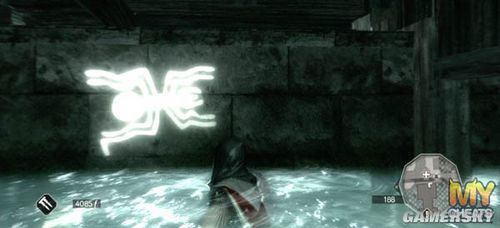
Santa Croce
Florence: San Marco District
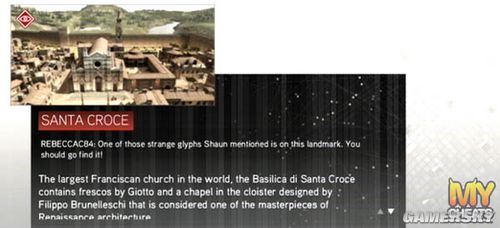
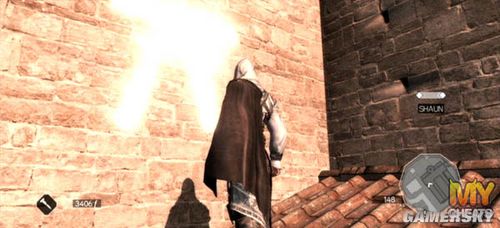
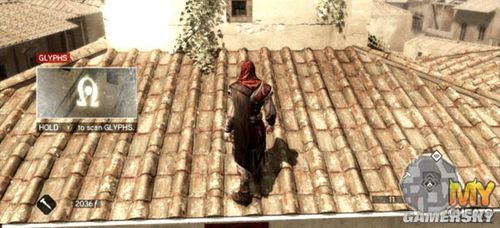
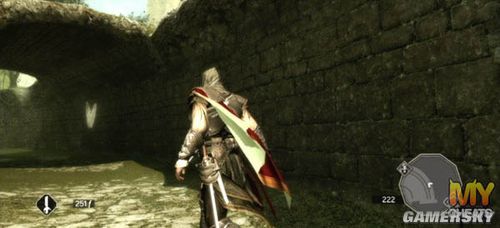
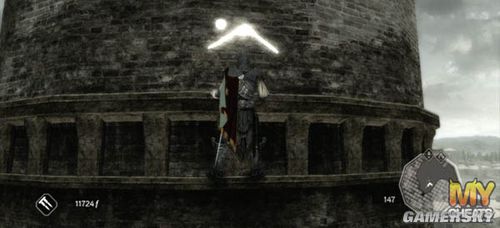
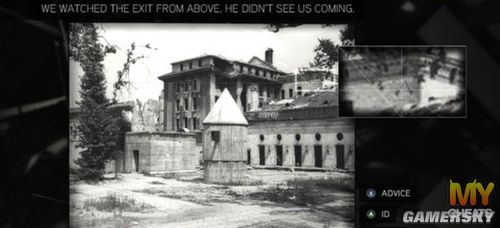
Note the location on the GPS in the lower right of the screen for the Glyph Location.
In the Beginning
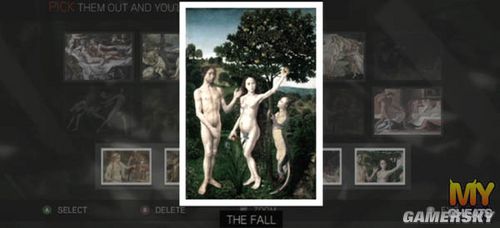
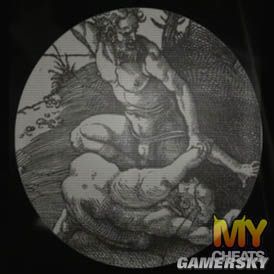
Hint: There are five painting you need to select with the hint being "Five of these mythic scenes share a core similarity. Pick them out and you'll begin to see." The core being the apple that appears in each of the paintings -- the names of the correct paintings are listed below.
Atalanta and Hippomenes
Judgement of Paris
Idun and the Apples
The Fall
Hercules in the Garden of the Hesperides
Ospedale Degli Innocenti
Florence: San Marco District
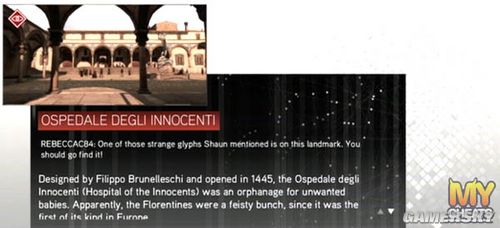
Note the location on the GPS in the lower right of the screen for the Glyph Location.
Sixty-Four Squares
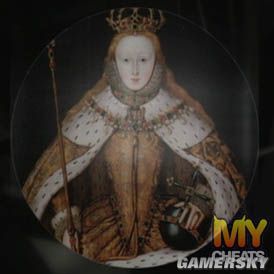
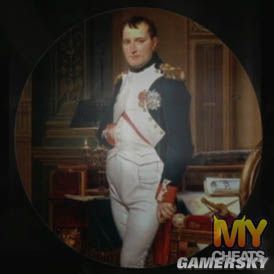
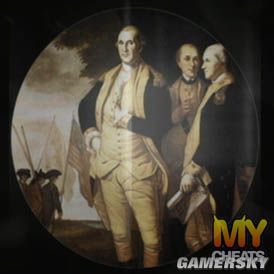
Hint: This circle puzzle is not as hard as the later ones so love it while you can. There are six plains in which to rotate the circle puzzle pieces to be in the right order. It helps to work out from the smallest circle to the largest. If you're having trouble figuring out what piece goes where, check our screenshots below to see the results for Queen Elizabeth I, Emperor Napoleon I, and George Washington.
La Rosa Colta
Florence: San Marco District
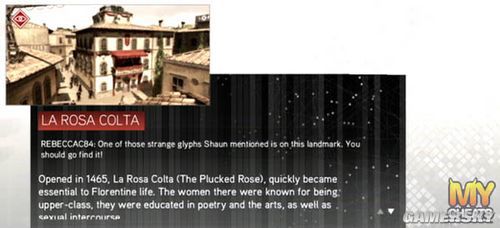
Note the location on the GPS in the lower right of the screen for the Glyph Location.
Descendants
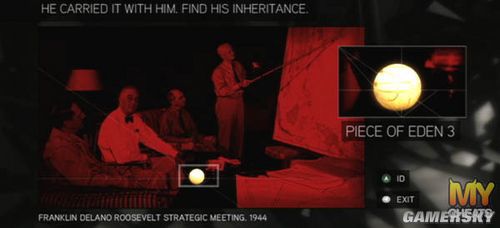

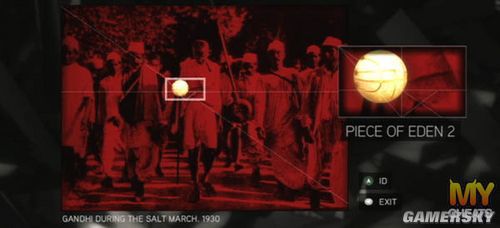
Hint: "He carried it with him. Find his inheritance." Examine the photographs and highlight the area in the photographs where you see the faint outline of a circular object aka pieces of Eden.
Villa Auditore
Monteriggioni


Note the location on the GPS in the lower right of the screen for the Glyph Location.
Infinite Knowledge
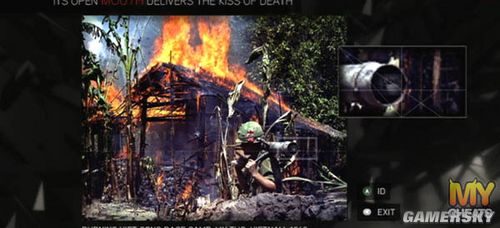
Hint: "Its open mouth deliver the kiss of death," is the big hint you get this time around for this photo hunt. The answer lies in the flame thrower on the back of the soldier in the photograph.

Hint: "Leading the young to their end," for this photo hunt. The leader would be the commander of the group, pictured above.

Hint: "The flames from its throat poke out their eyes."

Hint: "This monster did not come from man."
Santa Maria Assunta
Tuscany: San Gimignano
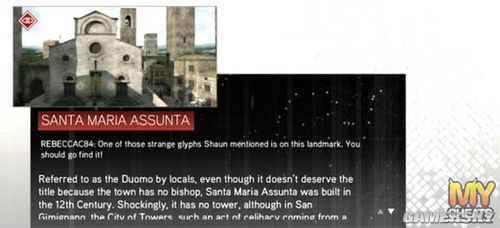

Note the location on the GPS in the lower right of the screen for the Glyph Location.
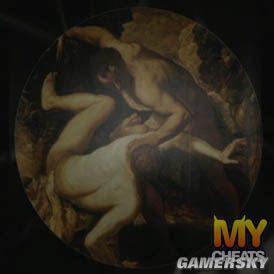
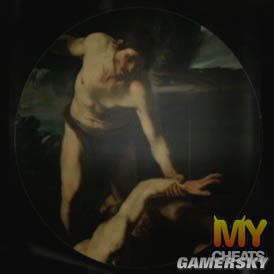
Instruments of Power
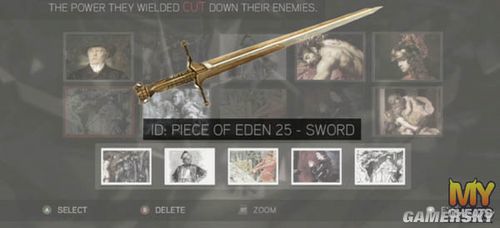
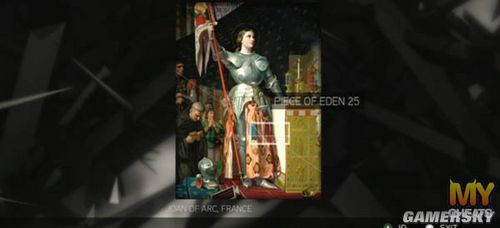
Hint: There are five painting you need to select with the hint being "The power they wielded cut down their enemies." The "cut" being the swords that all appear in the paintings -- the names of the correct paintings are listed below:
Perseus, Greece
Attila the Hun, Eurasia
King Arthur
Sigmund, Norse
Joan of Arc, France
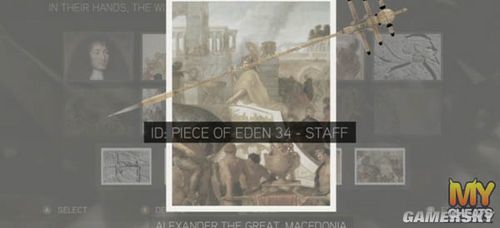
Hint: There are five painting you need to select with the hint being "In their hands, the wise lean on a great force." The "lean" being the staffs that all appear in the paintings -- the names of the correct paintings are listed below:
Shabataka, Egypt
Peter, Jerusalem
Moses, Egypt
John the Baptist, Jerusalem
Alexander the Great, Macedonia
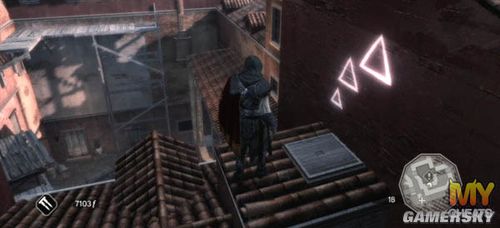
Torri Dei Salvucci
Tuscany: San Gimignano
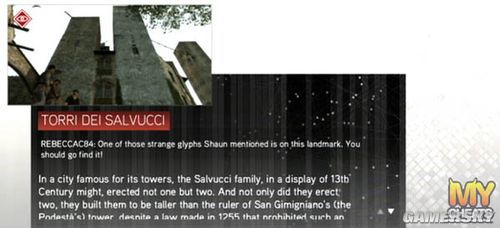
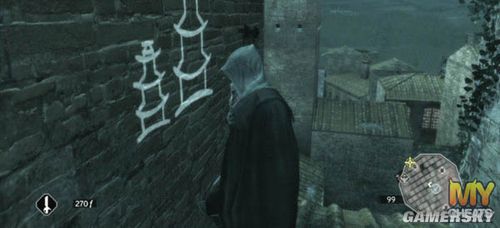
Note the location on the GPS in the lower right of the screen for the Glyph Location.
Brothers

Hint: There are six plains in which to rotate the circle puzzle pieces to be in the right order. It helps to work out from the smallest circle to the largest. Notice that the outer two layers are connected as well as the next set of outer layers; the inner three layers can move independently.
Hint: This one is a little harder. Now the outermost layer can be moved independently. Also see that the second outer layer and the third inner layer are connected...sort of. Each time you turn the second outer layer once, that third inner layer rotates a few places. But this is just meant to throw you off. You can independently move that third inner layer by itself when you are ready to line everything up.
Hint: Just like the previous puzzle. That rotation that is happening with the third inner layer is an illusion. Each time you turn the second outer layer once, that third inner layer rotates a few places. You can independently move that third inner layer by itself when you are ready to line everything up.
Hint: This one is much more of a pain. There are a number of circle layers that are connected this time (don't worry, no more phantom rotating). Concentrate on which layers are doing what and how they affect each other. If you turn one layer clockwise two places, it's possible you'll have to rotate a portion of that connect layer counterclockwise.
**Edit: The Morse Code written at the bottom once all the scripture is revealed states: "Templar Texts adapted by Mr Art Smith" ... I believe. ***
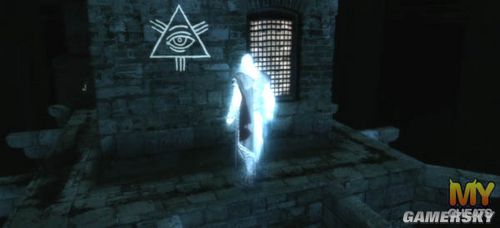
Torre Del Diavolo
Tuscany: San Gimignano
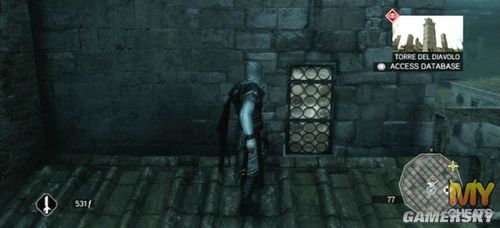
Note the location on the GPS in the lower right of the screen for the Glyph Location.
"Keep on Seeking, and you will Find"
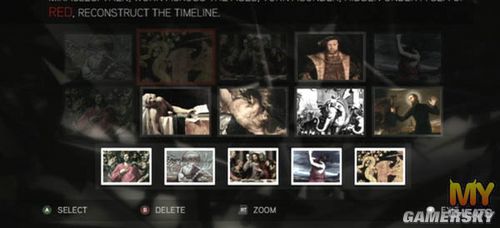
Hint: "First plucked from a tree guarded by a snake, it's powers perform miracles. Then, worn across the ages, torn asunder, hidden under a sea of red, reconstruct the time-line." You don't have to select them in a certain order (or at least, we don't think we do). Regardless, this is how we listed the paintings basing it off of the hint about "red" -- we selected paintings with red in them for the correct solution:
1) Christ Disrobed, Jerusalem. c. 30
2) Joseph, Egypt. c 1700 B.C.E.
3) Jesus Christ, Jerusalem. c. 30
4) David and Goliath, Valley of Elah. c. 970 B.C.E.
5) Jason, Greece. Prehistory
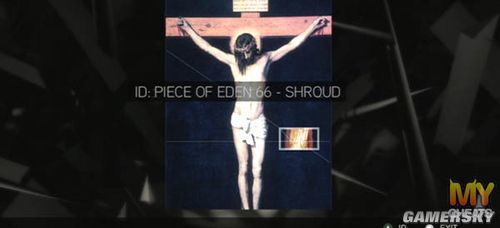
After solving the painting it's another photo-hunt with a painting of Jesus on the cross. Look on the right hand side of the painting for the solution.
San Lorenzo
Florence: Santa Maria Novella District
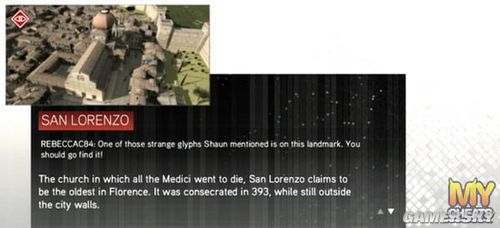
Note the location on the GPS in the lower right of the screen for the Glyph Location.
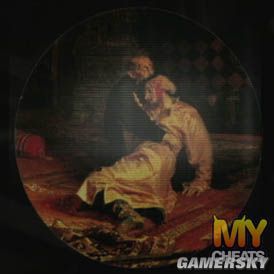
Martyrs
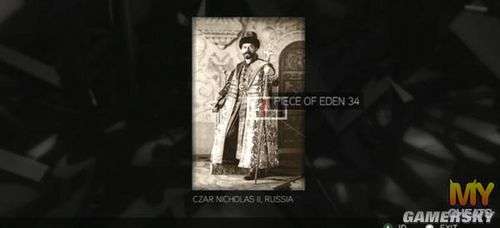
Hint: Photo hunt! Move the cursor around on the painting until you hear the chime going off, indicating the location of a Piece of Eden in the painting.
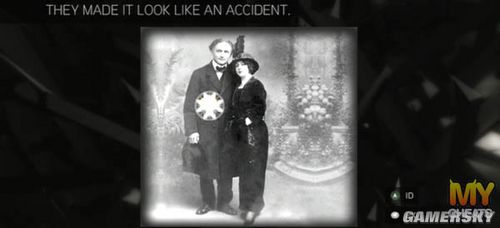
After finding the pieces in the paintings, guide the flame on the world map over Joan, switching the painting to the one of her being set on fire. Then select the photograph of Rasputin and move it on top of the photo of Czar Nicholas II. All done!
Mercato Vecchio
Florence: Santa Maria Novella District

Note the location on the GPS in the lower right of the screen for the Glyph Location.
Hat-Trick
Hint: Like the other photographs, the piece of Eden can usually be found on the person in the picture. In this case, inside Houdini's coat.
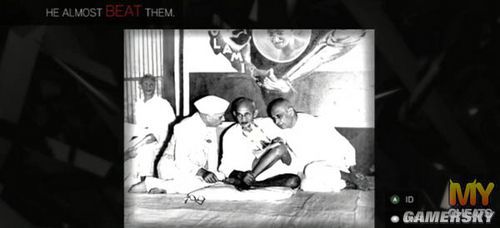
Hint: "He almost beat them," is the hint here. Beat being the beating of one's heart. In this case, the piece of Eden can be found on Ghandi's chest.
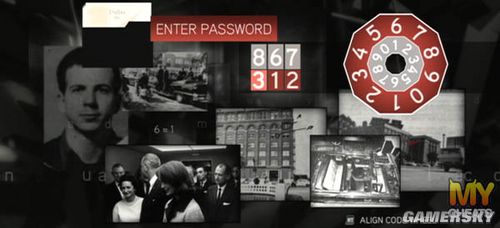
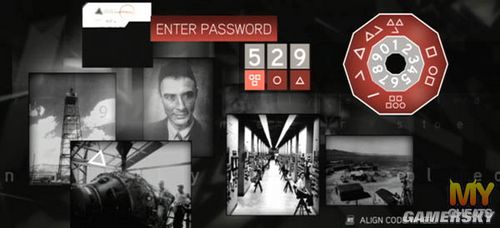
Hint: Notice that there is "6=1" listed next to the picture of Lee Harvey Olswald? Line up that 6 on the dial and then fill in the approriate numbers to get the correct result, solving this puzzle.
Monte Oliveto Maggiore
Tuscany: Countryside


Note the location on the GPS in the lower right of the screen for the Glyph Location.
Apollo
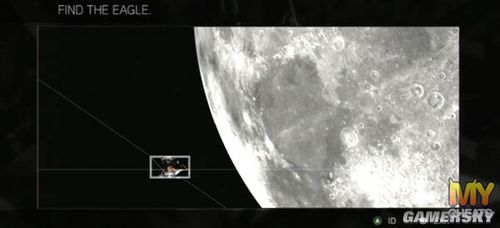
Hint: What you're looking for isn't on the moon, but in the blackness of space. You're looking for the Eagle, the Apollo lander that touched down on the moon. Look at our screenshot to see the location. Finding the Eagle will then unlock a rotating puzzle you must solve.
Hint: There are a number of circle layers that are connected this time and it would help to start from the smallest circle and work your way out. Concentrate on which layers are doing what and how they affect each other. If you turn one layer clockwise two places, it's possible you'll have to rotate a portion of that connect layer counterclockwise. The first inner layer can be rotated on its own, even though it is connected to layer four in one instance, and layer six is another instance, don't let it fool you because you can always go back and move the first inner layer on its own.

Now it's another photo-hunt, where you hae to identify the Piece of Eden that is in the Moon dirt on the ground, pictured above.
Antico Teatro Romano
Tuscany: Countryside
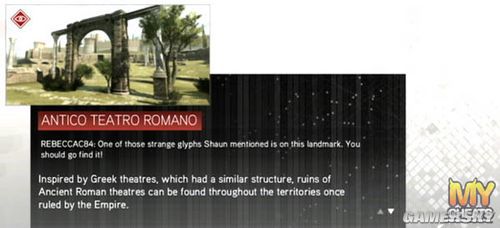
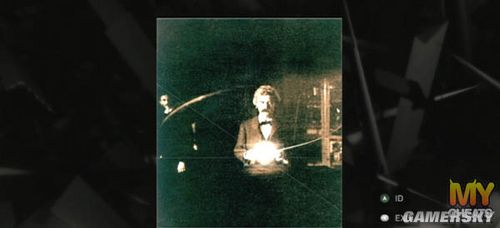
The Inventor
Start off by moving the lightning bolt cursor around so that it highlights each of the light bulbs. This will then unlock a photo hunt puzzle.
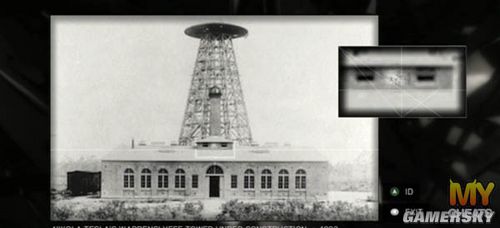
Hint: Above the doorway in the center of the photograph is the area which you want to properly ID to advance to the next photograph.
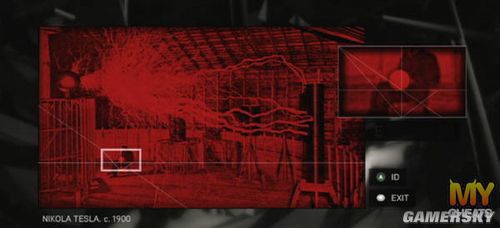
Hint: The only place in this photograph where he could actually be holding something would be on his lap. Highlight his lap, ID it, and the puzzle is solved.
Abbazia Di San Mercuriale
Romagna
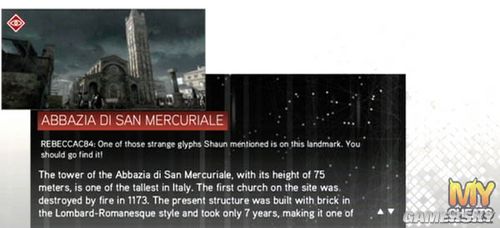
Titans of Industry
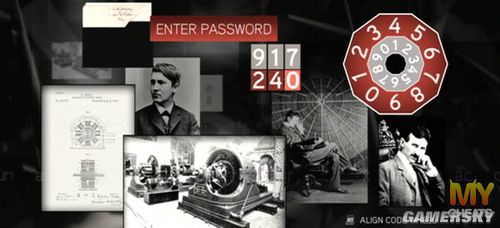
Hint: Notice on the white piece of paper in the lower left of the screen that has "4=1." Line up the wheel so that the red 4 equals the gray 1 and then enter the corresponding numbers.
Now that you have completed that portion, move the $ around on the globe so that you turn off all of the lights in the world. This will then play a disturbing video of an elephant being electrocuted and then settling in on another photograph. ID the glowing orb in the middle of the photo to move to the next puzzle.
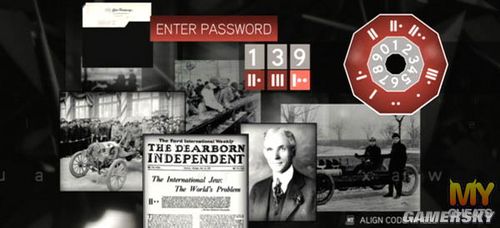
Hint: Notice the number 2 on the car in the left-most photograph and the II.. symbol on the newspaper -- that's what you should line up on the wheel. However, this leaves 3 and 9 blank. There is a pattern here if you keep looking it over in that the number of lines and dots increases in a logical fashion on the blank portions of the wheel. Of course, you can just look at our screenshot for the correct answer.
Avamposto Veneziano
Romagna

"I am Become Death, the Destroyer of Worlds"
Hint: Look at the photo on the far left and see the number 9 resting in the clouds, and the triangle shap in the photo below that -- line up those respective symbols on the wheel. Now to figure out what to fill in for 2 and 5. Notice how squares and circles seem to count for something. There are two sequences here (Lines with triangles, and Squares with circles)and in each sequence the two previous symbols equal the next one. If you can't see the pattern, check our
Now it's just a series of
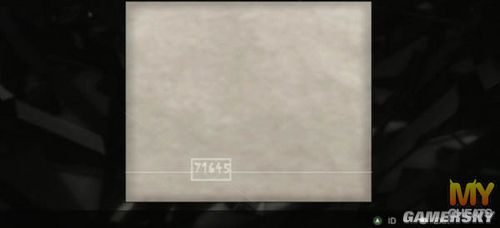
rollover puzzles. Go ahead and ID the big red button to set off the atom bomb. Now on the blank piece of paper that appears on the screen, move the cursor around until the radioative clicking becomes more intense and then ID that section of paper to complete this puzzle.
Ponte Di Rialto
Venice: San Polo District
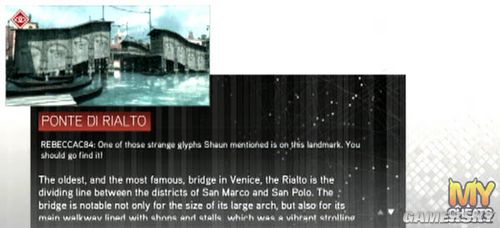
Bloodlines
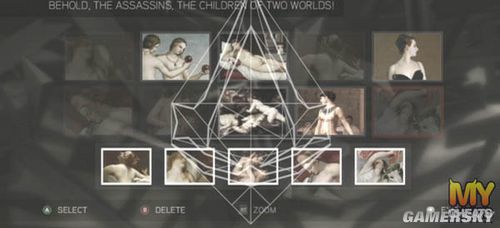
Hint: "The sees were planted as two worlds became one. Behold, the Assassins, the children of two worlds," is the big hint this time around for matching up the paintings. The hint being that it has gods mingling with each other. The correct paintings are listed below:
Jupiter and Io
Danae Visited by Zeus
Cupid and Psyche
Leda and the Swan
Rape of Europa
Gilda Dei Ladri Di Venezia
Venice: San Polo District

Guardians
Hint: You should be close to an expert at these puzzles by now :). Still, it wouldn't hurt for a few hints would it (like seeing what the final
would look like above). You really should work from the inside out on this puzzle, so that you have have an idea on the direction the characters are positioned in the painting. Then it's a matter of moving the circular puzzle pieces in the correct order. The trick is that many of the layers are connected. The inner layer is connected to the outer six layer, the inner two layers are connected as well as the mid layers four and five.
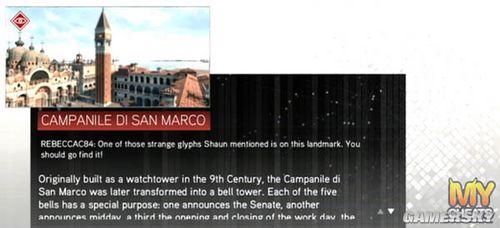
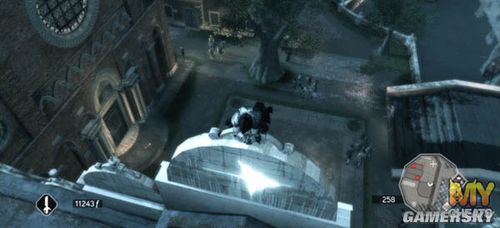
Campanile Di San Marco
Venice: San Marco District
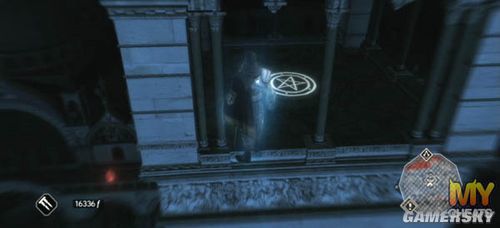
The Cavalry

Hint: This is a pretty easy puzzle. All you have to do is select the correct location name: Tunguska. Then hover the cursor over the staff and then stab the photograph to solve this puzzle.
Torre Dell 'Orologio
Venice: San Marco District

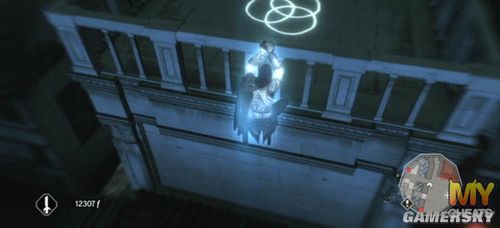
The Bunker
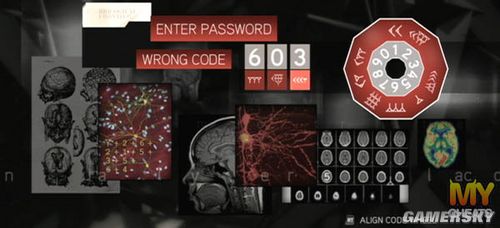
Hint: This is one of the harder puzzles in the game. The only hint you really get is the < symbol in the photograph in the lower left, and a faint number 4 in between the middle pictures. Lining up those puts the hourglass looking
under the 9. Now you have to figure out which symbols go under the 7 and 1. The key to the pattern on the wheel is the number of angles, or sharp corners, each shape has. The O has no angles, the < has one angle, etc. all the way up to nine angles. By this logic, the missing symbol under the 7 must have four angles, while the symbol under the 1 must have eight angles. See our
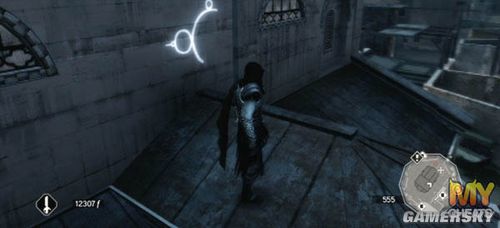
Now that you got that puzzle out of the way, it's time for a photohunt. Aim your cursor over the attic of the house in the upper right and locate the Assassin symbol, and then ID it.
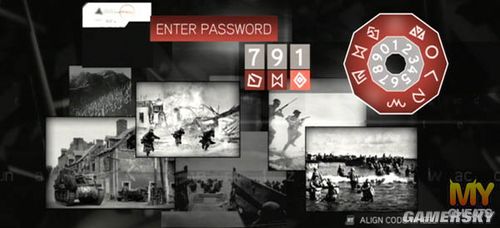
San Pietro Di Castello
Venice: Castello District
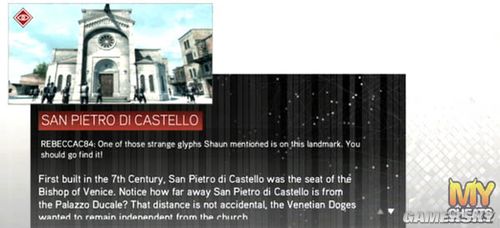
Synapses
Hint: In the lower right there are a number of x-rays of the brain with the number 5 and then symerian symbol for 1. Line up 5 with that symbol on the dial. On the second picture from the left is a mathematical progression, starting with the sumerian symbol for 1 and continuing with "+2+6+2+1..." and so on. This is the system in which the codewheel is arranged. As you can see on the code wheel, the symbol following the Sumerian 1 is the Sumerian 3 (being 1+2), the next is the Sumerian 9 (being 3+6), then Sumerian 11 (9+2) and Sumerian 12 (11+1). Continuing the sequence will let you figure out which Sumerian symbols are missing on the codewheel (17 and 31).
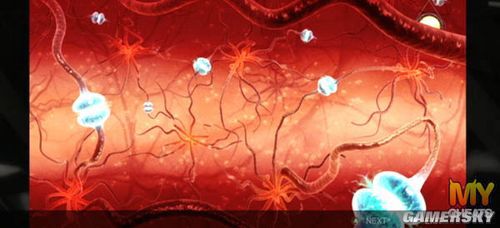
Once that portion is done, it's a nice an easy photohunt where you guide the symbol over the thick blood vesseles, turning them blue.
Scuola Grande Di San Marco
Venice: Castello District
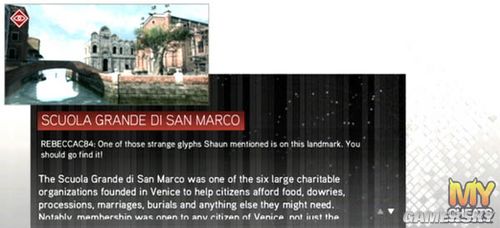
The Fourth Day

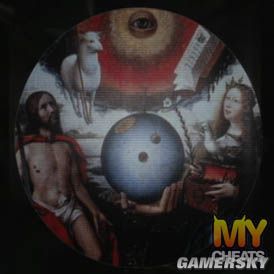
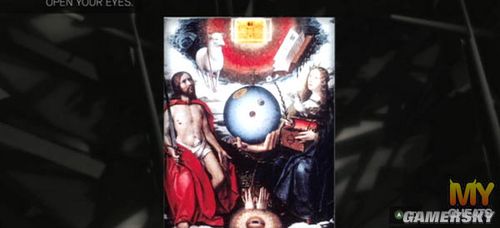
Hint: "Once worshipped, now ignored, from a distance it watches and waits," is the big hint this time around. What do all of the paintings have in common? What was an object that was once worshipped? Why the sun of course! Select each of the five paintings that have some relation to the sun (or the use of the sun as in a calendar). The names of the correct paintings are listed below.
Aztec Calendar Stone. 1427
The Eastern Gate. 1816
Sistine Chapel Ceiling Fresco. 1512
Nazca Textile. c. 200
Book of the Dead. c. 1310 B.C.E.
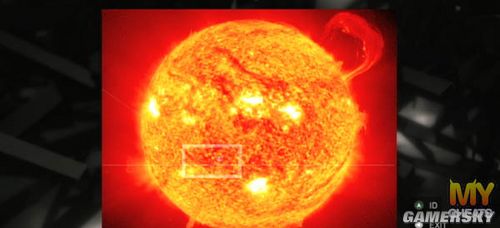
After you select the paintings, there will be a large
of the sun. Like from a puzzle earlier, move the cursor around on the screen until the radiactive clicking sound increases and then ID that zone revealing the planet Earth.
San Giacomo Di Rialto
Venice: San Polo District
The Origin of the Species
Hint: The second inner layer and the fith outter layers are not connect to any other circle. So, that means you can always come back to these layers last since you can rotate them independtly of the other layers that are stuck to each other. Work your way out from the middle and view our screenshot to see what the final result should look like.
Now with that puzzle out of the way, it's an easy photohunt. ID the sun to complete this painting to move onto the next portion.

Hint: Notice the text that says "Nothing is true, everything is permitted." That means you can put any symbol you want in the red section to pass this puzzle.
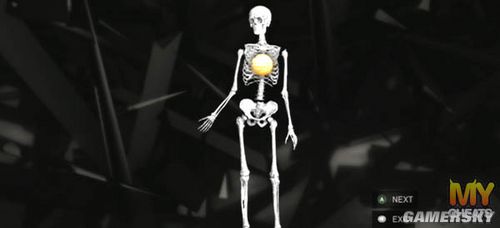
Lastly, this skeleton puzzle. Just move the cursor over each of the bones to change it from a monkey into a human skeleton. And that's it! Now sit back and watch Subject 16's Truth video.
更多相关内容请访问:
原文地址:http://www.18pk.com/web/wen-268721.html 转载请在文首保留此行。